While working on the Trivia Knight app, one of the many things I needed to learn was (and still is) Git and using Git for version control. I think I have my head wrapped around the basics of version control now – but while working on projects now, I find myself referring to a list of common Git commands. I’m putting them here in case anyone finds them useful!
New branch: Create new branch: git checkout -b name-of-branch git push -u origin name-of-branch
Switch branch: git checkout name-of-branch (for example, develop)
Merge branch to master: git checkout master git merge name-of-branch(for example, develop)
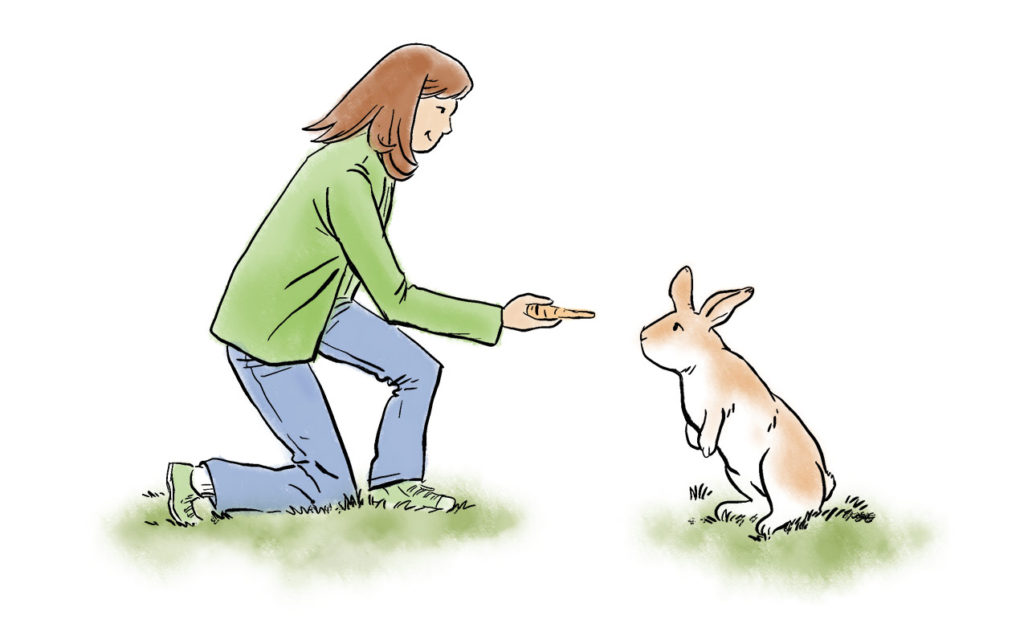
I’m happy to say that, after years of delay, I was able to publish The Bunny Rabbit in the Flower Garden, a self-published children’s book that I did the illustrations and layout for, to Apple’s iBooks Store. Back in 2012, my friend Casey and I collaborated on creating and self-publishing a children’s book. She wrote it, I illustrated it and put the whole thing together in InDesign. My original plan had been to publish exclusively to the iBooks store, since it seemed easy enough to do and I was curious to see what I could make using iBooks Author. But Casey convinced me to create a self-published print version using the CreateSpace service first. So that’s what we did, and when that was done, I set about my task of creating ebook versions of the print book.
I drew this : P
I found iBooks Author super easy to work with, and I was able to create a faithful version of the book in it pretty quickly. Submitting it was another story, haha. At this point, I honestly forget the whole process, but I basically had to wait for a contract to be generated. I seem to recall reading that the process of getting a contract could take weeks. So at that point I moved on to creating a Kindle version.
Creating a faithful Kindle version was more challenging, since illustrated books are basically HTML pages with text blocks placed as absolutely positioned divs. I eventually got where I was going, and found that publishing the Kindle version was fairly painless. So now I had print versions and the Kindle version up and running, and the iBooks version, which was the platform I had originally wanted to publish to, was in limbo. So I waited for the contract, and waited. Eventually I more or less forgot about it.
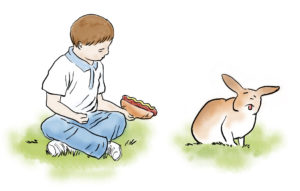
How I eventually felt about publishing an iBook.
Until last month, that is. I needed to move my own site, my father’s copywriting site, and the book’s site to a new host, and in doing so I got the itch to create new designs for all three. During that time, I realized that I had unfinished business with the book. So I began the process of publishing it to iBooks again. Lo and behold, some time in the intervening years, a contract had been approved. So now I could publish, right? Not so fast! I needed to connect a bank account to the iBooks account, then fill out the appropriate tax forms, then during the publishing process, create a sample version of the book, and preview screen shots of some of the pages. I had hiccups during this whole process, but fortunately Apple support was very responsive to my requests. And finally, after four years, I have a book on the iBooks store. Despite how long this took, I’m proud of the fact that I was able to create a print book in InDesign, and then convert it faithfully to two vastly different ebook platforms using two very different methods of building it.
First, major props to the Events Organiser plugin. It is super nice and very developer-friendly. When I redesigned my friends’ website, thewagband.com, I found it to be a great solution for listing their upcoming gigs, which is probably the most important function of the site.
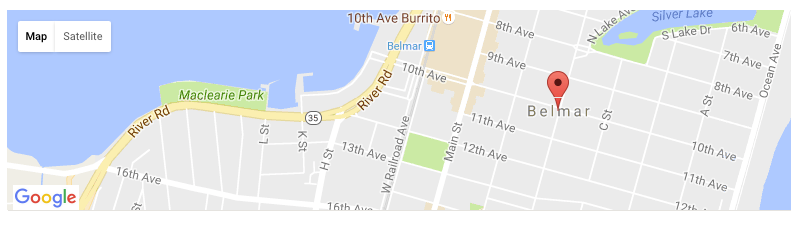
I liked how it displayed a nice big Google map of the venue each gig was to take place at. There was only one small issue that began to bug me as I interacted with the site: It was impossible to scroll past the map, lol. As soon as the mouse cursor moved over the map, the map would intercept it, and instead of scrolling down I was now zooming in on the map itself. I really dislike scrolljacking, so I wanted to figure out how to change that behavior.
Looks great, but definitely a mouse hog without a little modification!
It took me quite a while to find a fix for this, and a lot of dead-end Google searches. I found recommendations to disable pointer events using CSS (which would disable all map functionality and effectively make the map nothing but an image) to using iframes and jQuery to prevent the map from intercepting the scroll. Eventually I came across the Venue Map documentation for the plugin, and I experimented with turning off zoom control, which only removed the zoom controls from the map but did not prevent scrolljacking.
The solution turned out to be incredibly simple. Google Maps has a scrollwheel=false option, and the Events Organiser plugin has a scrollwheel attribute for the venue map, which I found out from here. What wasn’t clear from the documentation, however, was how to implement it in a template file. After much trial and error, I found that this worked:
One drawback is this still does not prevent scrolljacking on mobile, only setting draggable to false would do that. However I think that draggability is a pretty important map feature, so I decided to take the hit on mobile.